25 People Who Got Their Clothes for Almost Nothing but Still Look Like a Million Bucks

Despite their size, microgreens are packed with even more nutrition than when they’re in their mature form. This makes them perfect for all diets. Plus, they can give a surprising splash to a dish, making it eye-catching and, at the same time, aromatic and flavorful. Once you try to grow them yourself and add them to your food, you probably won’t be able to stop.
We at Bright Side would like to share with you the healthy reasons you should create a garden of microgreens at home and how to do it. As a bonus, we have a few ideas we think you should start with.
Microgreens are younger versions of the veggies we eat regularly and they’re about 1 to 3 inches tall. So, since veggies are connected to providing health benefits for us, these confetti-like greens have similar properties, often with a higher nutritional value. In fact, they have 40 times more vitamins and minerals than the mature produce they’d eventually grow into. They can help fight against the following issues:
Most diets require you to eat fewer calories, which means focusing on larger portions so that you can feel full. But the key here is actually for the dish to be rich in fiber so you won’t need to fill up your plate with just anything. This is why it’s great to consider adding microgreens to your diet. As a superfood, they can also help with detoxifying your body, which also boosts weight loss. Here are the microgreens that have a good amount of fiber: barley, chickpeas, fava, fenugreek, flax, hemp, lemon balm, and lentils.

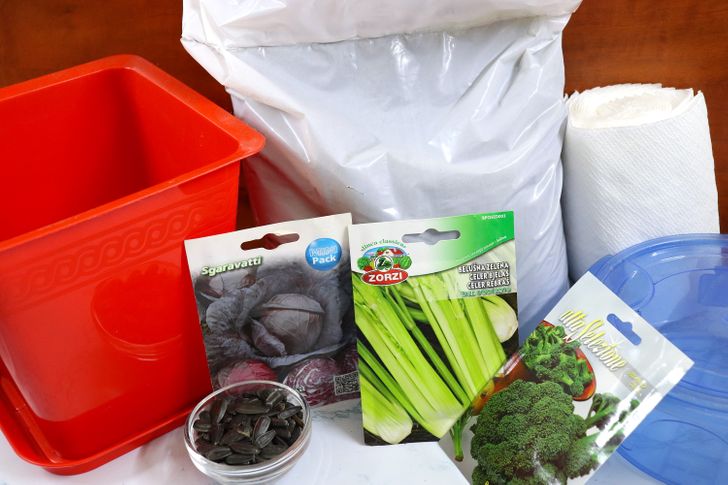
Before starting, make sure you gather all the materials you need. This will make it easier for you and everything will be nice and neat. You really don’t need a lot of things:

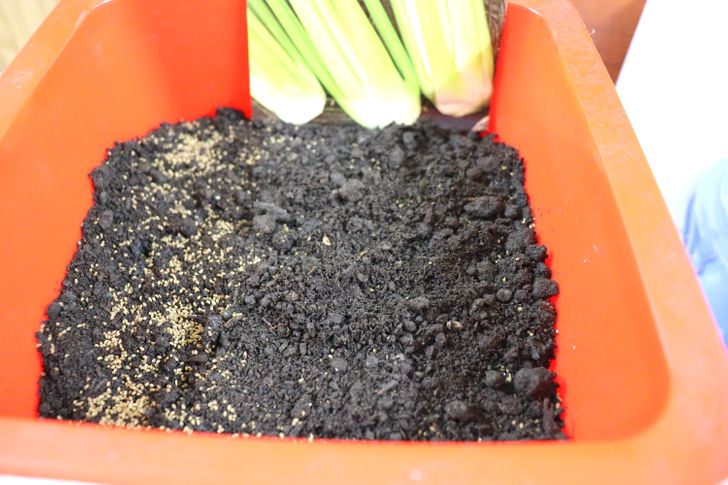
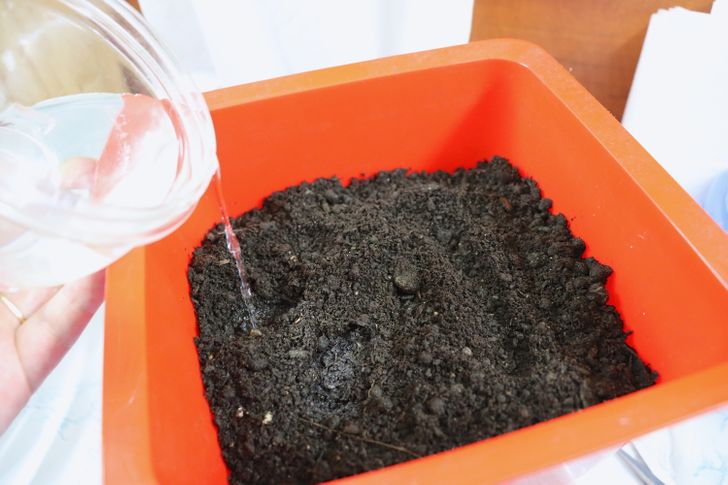
Get a soilless seed-starting mix. This is a special soil that is made to promote better seed development. Transfer the mixture into a big container and sprinkle water on top. Mix well, so that the soil gets damp, and then divide the soil between the pots. You can also just put paper towels in plastic containers and sprinkle water on them.

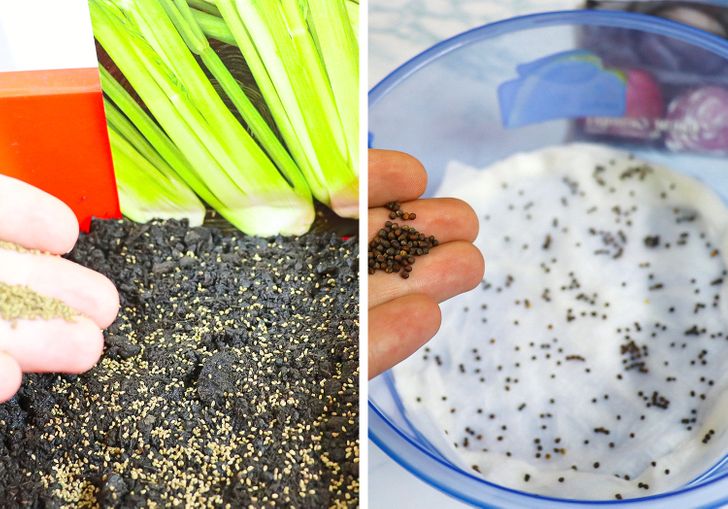
Now it’s time to sprinkle in the seeds. Make sure to spread them thickly. Here is how to do it using soil and paper towels: If you’re adding them into the soil, top with vermiculite and water, but if you decide to spread them on a damp paper towel, just leave them as they are.

It is important to keep the soil and also the paper towels damp, but not too moist. Too much water can become a great place for mold to grow and it can destroy your microgreens. Water them only when you see that the soil is about to become dry. Also, covering them with plastic wrap will help a lot. This will keep the soil damp for longer.
Place the pots and plastic containers where they will get a good amount of light during the day. You can always buy additional lighting if you don’t have a spot in your home where you can keep them.
To get the perfect height, you will need to wait 1-3 weeks depending on the type of seeds you are using. Harvest the microgreens when they are 1-3 inches in height. Hold them gently, cut them with scissors, and transfer them onto a plate. Shake out any excess seeds and use immediately, or store them in plastic containers for up to one week.
Unlike baby greens, you won’t get new sprouts from these seeds. But the great thing is that you can add new seeds on top of the old ones, the old roots will become a natural source of organic matter.
Have you ever tried to grow your own microgreens? Which ones are your favorite?


