HR Fired Me Right Before My Vacation, So I Used It Against Them

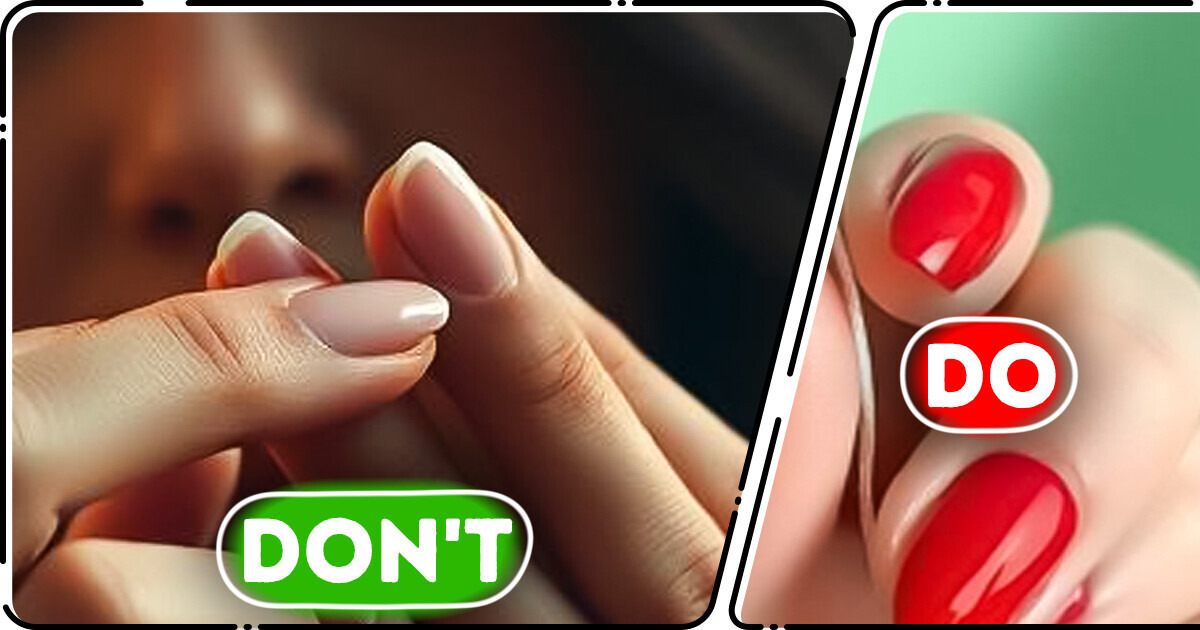
There’s just something magical about a fresh set of acrylic nails—they instantly elevate your look, add length, and open up a world of creative possibilities with colors and designs. Even with trendy new options like dip powder and builder gel making waves, our love for acrylics is here to stay. (And let’s be real, so are they—these babies have some serious staying power!)
But with great nails comes great responsibility—like figuring out how to remove them without wrecking your natural nails. Spoiler alert: ripping them off is a terrible idea (trust us, you’ll regret it). And while TikTok is packed with DIY hacks, not all of them actually work.
So, what’s the safest, easiest way to take off acrylics at home? Keep reading to find out—you’ll thank us later!

The best (and safest) way to remove acrylic nails? A trip to the salon, of course! But if that’s not an option, don’t worry—there are safe and effective ways to take them off at home without ruining your natural nails.
Good news—removing your acrylic nails at home doesn’t have to be a nightmare! There are a few safe and easy ways to do it, including some that don’t even require acetone. And if the idea of playing DIY nail tech sounds a little intimidating, don’t worry—it’s actually way simpler than you’d think.
No matter if you’re rocking a classic French mani or bold neon nails, we’ve got you covered with foolproof removal methods that won’t leave your natural nails weak and damaged. Ready to say goodbye to your acrylics the right way? Let’s dive in!

You already know what we’re going to say—when in doubt, let the pros handle acrylic nail removal. But hey, we get it—nail emergencies happen! So if you’re taking matters into your own hands, do it the right way.
Patience is key: take it slow, resist the urge to yank or pry them off (your nails will thank you), and be gentle with that nail file. The more careful you are, the healthier your natural nails will stay. And don’t forget—whether you DIY or go to a salon, a little post-removal TLC is a must to keep your nails strong and ready for their next glow-up!
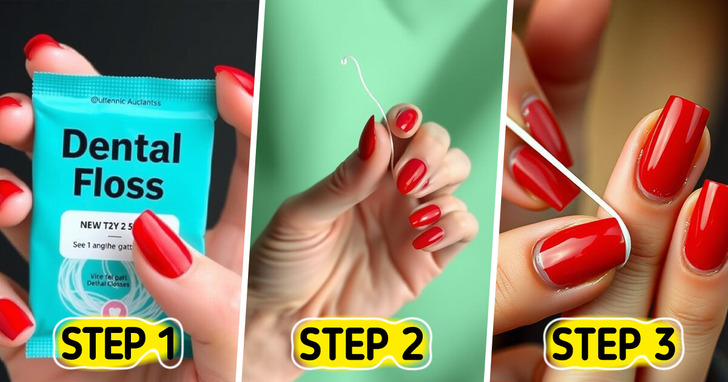
When you need those nails off ASAP and can’t do a full soak, there’s an option: dental floss! Yep, waxed or unwaxed floss can actually help lift acrylic nails when they’ve already started to loosen and grow out.
But before you start flossing away, a word of caution—this method isn’t for freshly done nails. If your acrylics are still holding on strong, forcing them off with floss can seriously damage your natural nails, making them weak, brittle, or even causing painful peeling. So if you’re going to try this trick, make sure your acrylics are barely hanging on (get it? 😉) before you go for it.
And as always, once those acrylics are off, don’t forget to show your natural nails some love with a little hydration and care. They deserve it!
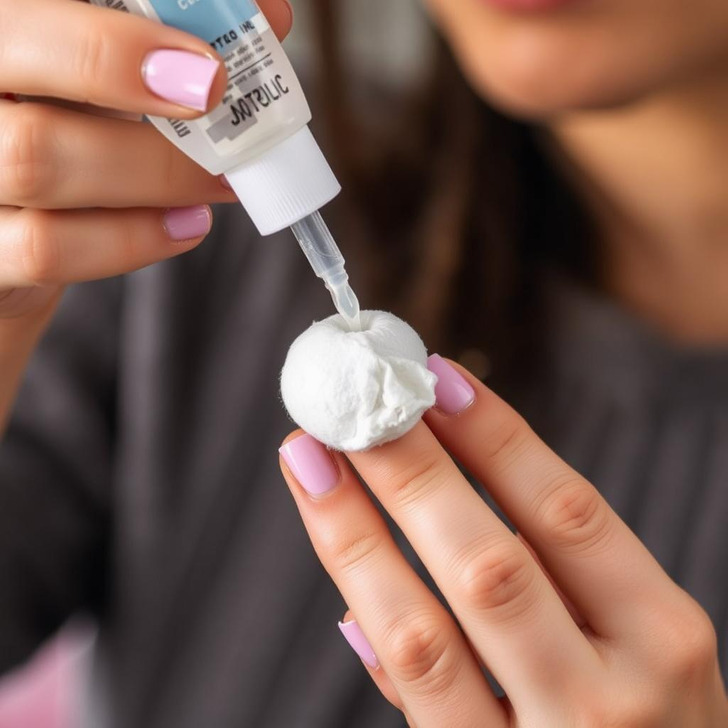
Boom! Fresh, natural nails are back. Don’t forget to moisturize and show them some love!
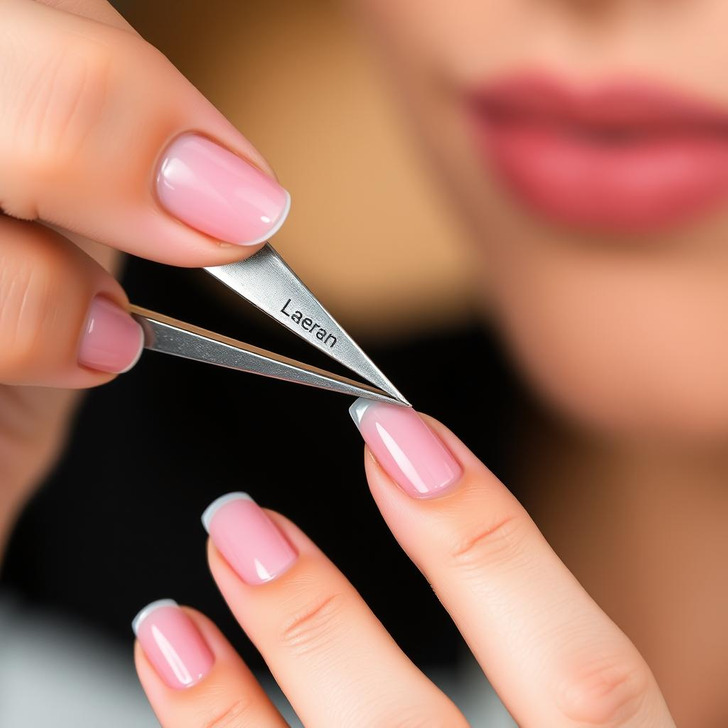
And there you go! Fresh nails, no damage.
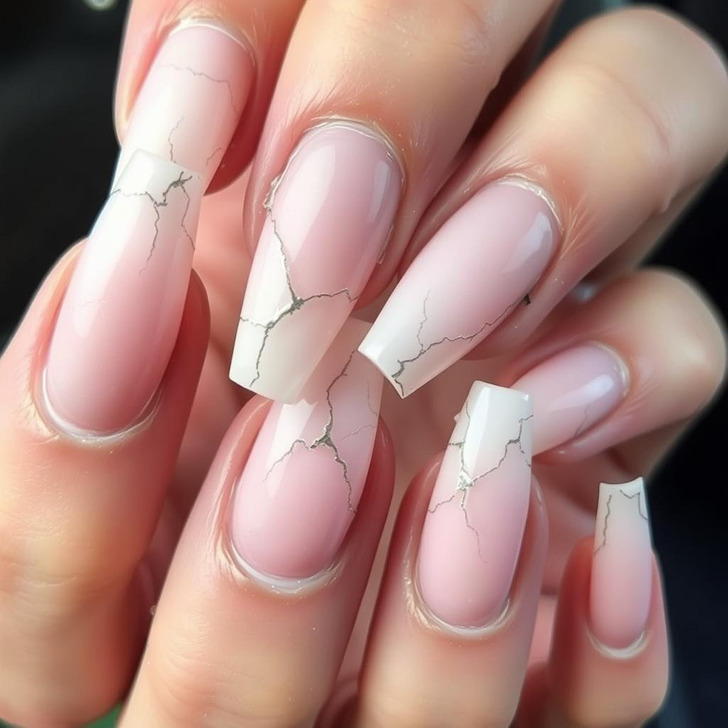
Taking care of your natural nails is always key, but it’s especially important after you’ve removed your acrylics. These simple steps will help your nails stay strong and healthy!
Now you’re ready to rock your natural nails!
And here are 11 nail trends that have officially been retired, so you would probably want to opt for some fresher nail techniques.


