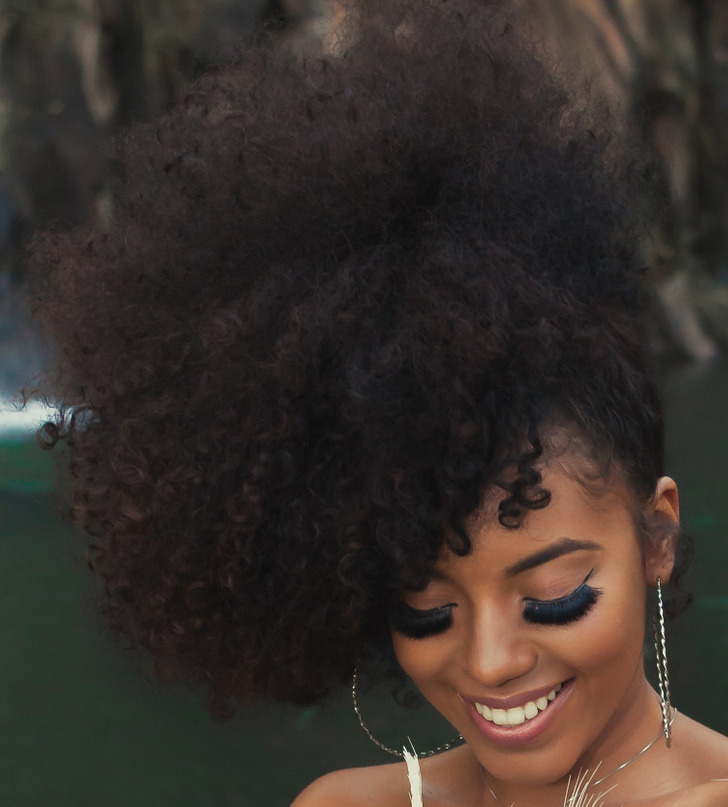
Umm hello. None of these styles can be conveniently done on natural hair. Could u please not forget to include different hair types.
18 Easy Hairdos You Can Do Yourself
An average woman spends about 55 minutes per day styling her hair and applying makeup. But sometimes there’s no time to go through this routine and you need a quick, stylish hairdo instead of a complex one.
Bright Side gathered 18 hairstyles for you that are quick and easy to do but are still beautiful and elegant. Save this list to your bookmarks, as it might help spare you a lot of time and energy!
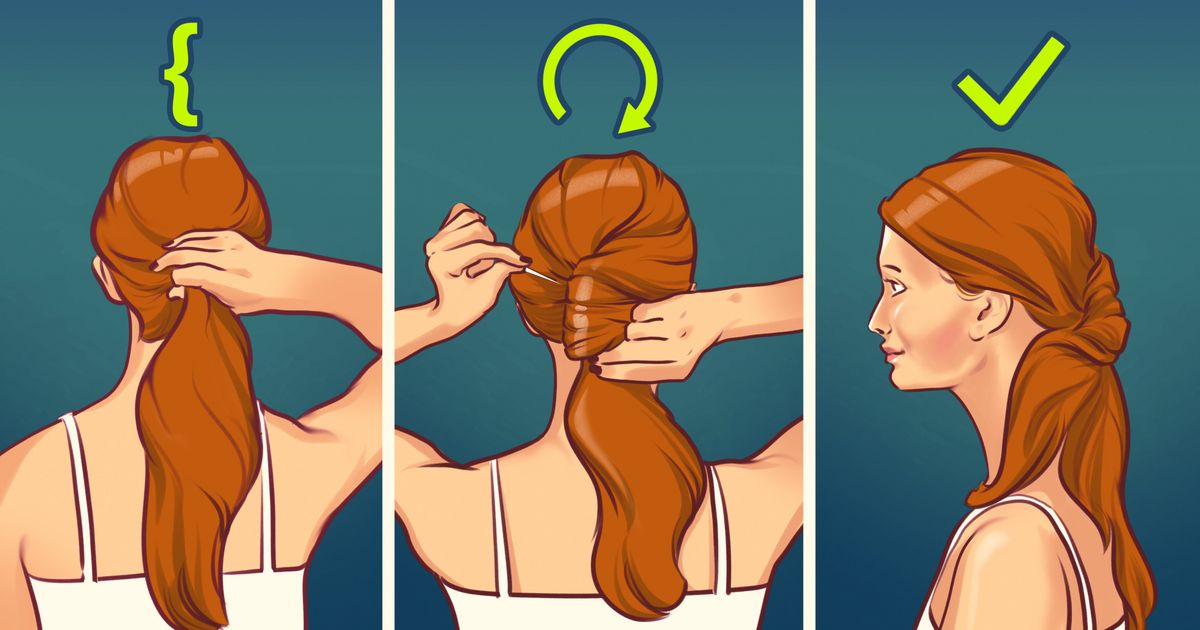
1. Ponytail with a twist
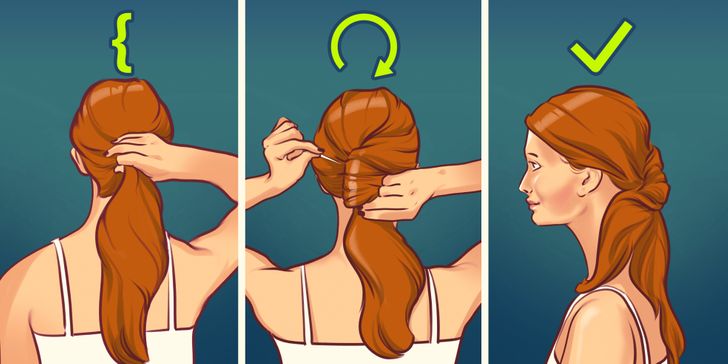
- Gather your hair into a low ponytail but do not secure it with an elastic. Make sure your ponytail is slightly to the right from the center of your head.
- Twist the base of your ponytail clockwise.
- Use bobby pins to secure the twist from both sides.
2. Super easy one-minute-bun
- Gather your hair into a high ponytail.
- Twist your ponytail clockwise.
- Secure the hair with a rubber band. Use bobby pins if necessary.
- Alternatively, you can use a hair stick instead of a rubber band.
3. Hair bow
- Pick up thin strips of hair from both sides of your head and put them to the side. If you have short hair, pin them up with 2 hair clips so they don’t get in your way.
- Put the remaining hair into a low ponytail. Make it a little bit loose.
- Select a small string of hair from the ponytail and braid it into a small braid (about 3 inches). Secure the braid with a small rubber band.
- Now you need to insert the braid into the ponytail. For this, stick your index finger into the back of your ponytail, right on top of the elastic band, and pull the braid back down, forming a loop.
- Grab one of the hair strips that you put aside earlier, fold it into a semicircle (it should look like one side of a bow) and pull it halfway through the braid loop.
- Repeat the same thing with the other side.
- Pull down the braid to tighten up the bow. You can remove the elastic band from the braid now. Secure your bow with the bobby pins if needed.
4. Quick twist
- Separate your hair into 3 identical sections and tie up the middle one into a low ponytail.
- Pick up one of the remaining sections of hair, twist it and roll it up around your ponytail. You need to do this only once. Pull the twist through the elastic band combining it with the ponytail.
- Do the same thing with the other side.
- Secure with bobby pins if needed.
5. The knot
- Separate your hair into 2 sections, one of them on top, the other one on the bottom. Tie them up with an elastic band, forming 2 ponytails (one above the other).
- Make a hole above the lower ponytail and pull the upper one through it. Now put this pulled-through ponytail aside, so it stays out of your way.
- Make a hole above the upper ponytail and pull the lower one through it. Make sure that you pull it in the opposite direction of the first one, forming a knot.
6. High bun with a bow
- Brush your hair into a high ponytail. Tie it up with an elastic band, but on the last wrap pull the hair only halfway through, forming a loop.
- Take small sections of hair from the loop and pin them down against your head in a random order, forming a messy bun. Make sure to hide the elastic band with your hair.
- Divide a small string of hair from the remaining end of your ponytail and clip it away. Tie the remaining part of the section with a rubber band.
- Divide the ponytail into 2 equal sections. Take one of them and roll it up against itself, forming half of a bow. Secure the loop with bobby pins.
- Repeat with the second section.
- Take the string of hair that you put aside earlier, lie it down and wrap it around the loops so it looks like the heart of the bow. Pin it down with a bobby pin.
- Use hairspray to fix the bow.
7. French braid, low bun
- Part your hair to one side, depending on which side you want your braid on (it will be placed on the side with more hair).
- Pick up 3 small sections on top of the section with more hair and braid a French braid all the way down to your ear, then continue with a regular braid. Loosen up the edges of the braid in order to give it more volume.
- Pick up the remaining hair and tie it up with an elastic band, adding the braid into the ponytail. You can now unbraid it.
- Twist the ponytail into a bun and secure it with bobby pins.
8. Heart braid
- Straighten up your hair. From above of your ear grab a section of hair and separate it into 3 equal sections.
- Make a regular braid that is about 6 inches in length. Secure it with the rubber band.
- Pick up another section of hair about 2 inches far from the first braid. The amount of hair in this section should be the same as in the first braid. Make another braid, similar to the first one.
- To form a heart, take the first braid, press it against your hair, and twist it clockwise, forming half of a heart. When it is in place, secure it with bobby pins.
- Repeat with the second braid, this time twisting it counterclockwise.
- Tie up the ends of the heart with a rubber band.
- Remove the previous elastic bands that you used to secure the braids and untie the braids up to the elastic that “closes” the heart.
9. Braided headband
- Your braid will begin from the section behind your left ear. Pick up a string of your hair from there and make a regular braid.
- Loosen up the edges of the braid to give it more volume. Tie up the braid with an elastic band.
- Lay the braid down across your head, forming a headband.
- Pin it up with bobby pins.
Note: this hairstyle looks perfect on any length of hair, even on short ones.
10. Butterfly
- Pick up small strings of hair next to your temples from both sides of your head. Tie them up into a ponytail using a small elastic that’s the same color as your hair.
- Divide your ponytail into 2 identical parts and pick one of them up. Flip that part over the string of the original ponytail, forming a loop.
- Put aside the first string and repeat with the second one. Adjust the loops to the size that you like and tie the strings into a ponytail.
- Pick up small strings of hair from both sides of your head below the ones that you picked up in the first step. You need to tie them up into another ponytail, but first you need to pull each string through the loops of your butterfly — the right string goes through the right loop, the left string through the left loop. Tie the strings up with a rubber band.
- Repeat the second and the third steps, forming the bottom of the butterfly — divide your ponytail into 2 identical parts and pick one of them up. Flip that part over the string of the second ponytail, forming a loop.
- Put aside the first string and repeat with the second one. Adjust the loops to the size that you like and tie the strings into a ponytail.
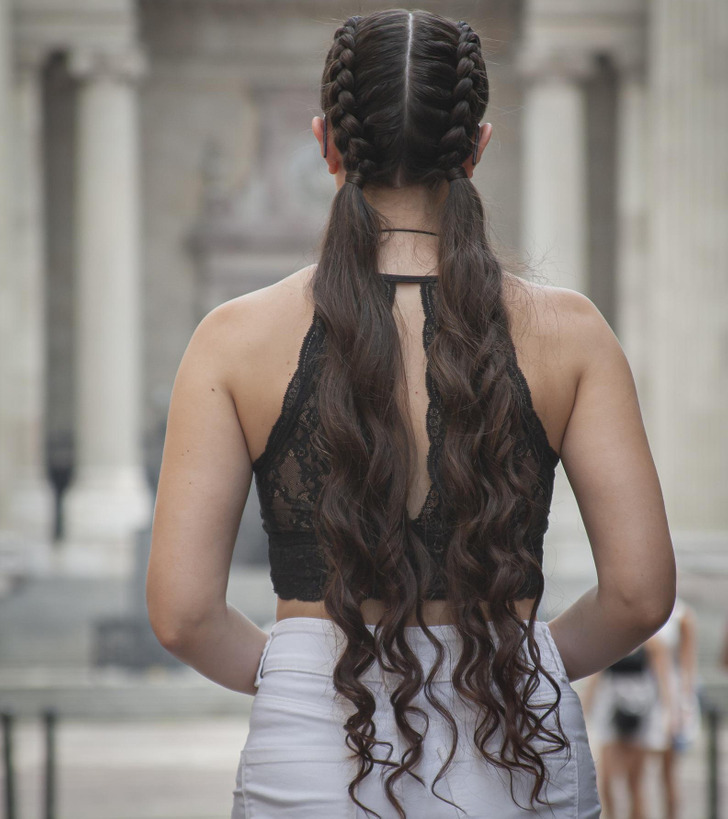
11. Double Dutch braid
There are many different kinds of braids, this special type is called a Dutch braid. This can be more easily done with long hair, but if you have short hair don’t worry you can also try to do it. The hair can be braided all the way down or just at the end of the skull. Both hairstyles are very cute.
At first glance this hairstyle might seem hard, but with practice you’ll be able to achieve it in no time.
- Part your hair in a straight line in the center of your head. Remember that it should be brushed and without tangles before starting.
- You can start braiding either side, you just need to keep the other side out of the way by using a hair clip or any other tool you have. For this example, we’re starting on the right side.
- Hold a regular-sized section of hair from the right side, it should start from the hairline. Once you’ve done that, you should split the section into 3.
- Now here comes the tricky part. You have 3 hair strands 1 (at the top of your skull), 2 (the middle strand), and 3 (the strand near your ear). Cross the third strand under the second strand, and then cross the first strand under the new middle strand.
- The next step is to add some hair to the new third strand and again cross it under the middle strand.
- Now add some hair to the third strand and cross it under the middle strand. The key is to always cross the first and third strands under the middle one, over and over again while also adding some hair.
- Keep doing just that until you reach the end of your skull, then tie your braid and leave the rest of your hair loose and then do the same with the other side of your hair so that you can have 2 beautiful braids.
12. Accessorized
More than a hairstyle, this is a very useful and easy tip that you can use no matter whether you’re going to a party or on a cute date. Hair clips, headbands, scarves, scrunchies, and other accessories are a quick way to look stylish with minimal effort. With this tip, there’s no more running late.
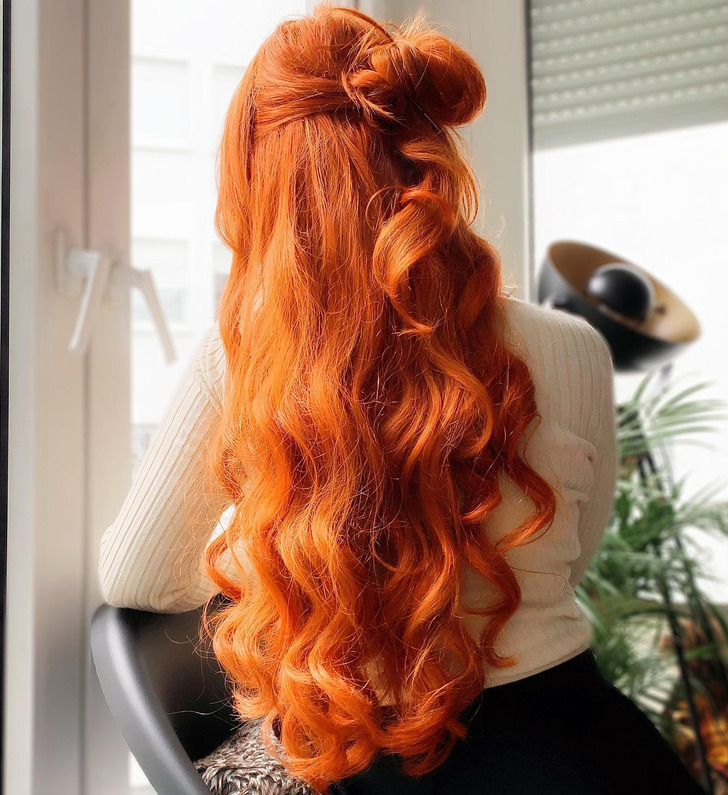
13. Half messy bun
This easy style can be achieved with medium to long hair length and, as you can see in the example, it looks really good. To start you’ll need a hair tie and maybe some hair curlers. If you wish you can skip the first step.
- This step is optional. You can curl your hair by using hair curlers. If you don’t have any, you can also use a hair straightener, making circular motions. Another way to achieve this curly look is by braiding your hair a couple of hours before you’re ready to style it.
- After your hair is nicely curled, you can part your hair right in the middle. Grab 2 hair strands from the top of your skull, from each side, and keep them out of the way with a clip.
- Next, grab another 2 hair strands from right above your ears and tie them at the back of your head. You can make a messy bun or leave the hair loose.
- Finally, release the first 2 hair strands so that they act like cute bangs, and voila! You’re ready for any event you’re invited to.
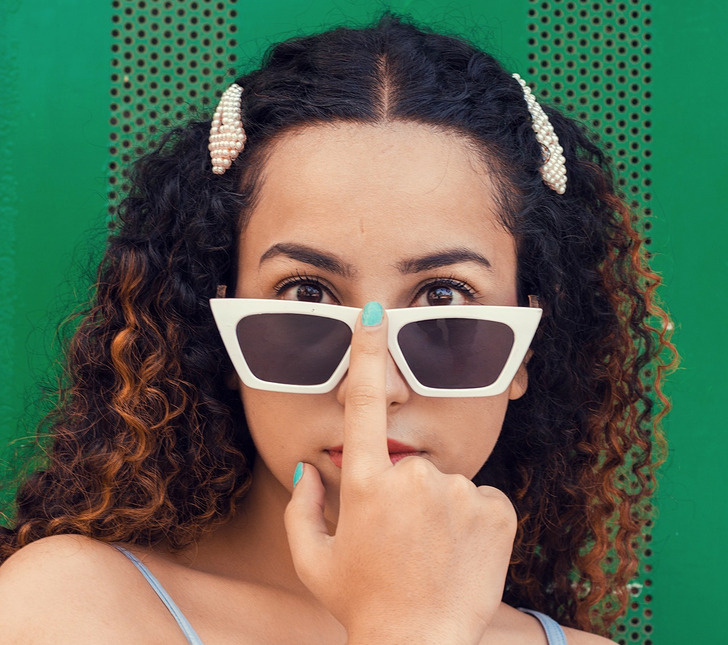
14. Messy pigtails
Normally, pigtails are seen as a little kid’s hairstyle, but as you can see, they can even look cute and fashionable for adults. This hairstyle can be done with short and long hair. You’ll need some little hair ties and that’s it.
- What you need to do first is to part your hair right in the center. Then part 2 hair strands from right at the top of your head right at the hairline, just like in the picture.
- Next to those hair strands, you’re going to separate 2 more strands, which you’ll tie with the hair ties.
- As an optional step, you can braid the pigtails as you’d normally do, and there you have it a very simple and easy style that everyone’s going to compliment.
15. Use a headband
As we said before, accessories can help you make a hairstyle very easily, and here’s a very cute example. For this, you’ll need a hairband, preferably a thin one, like the one in the picture, and some bobby pins.
- Part your hair however you want and adjust the headband on your head over your hair and wherever you feel it’s comfortable.
- We can start from any side, for this example, we’re starting from the right. Grab a hair strand and cross it toward your head under the headband.
- Grab another hair strand and do the same thing until you get to the middle of your head.
- Then, start doing the same thing to the other side of your head, until you reach the middle.
- Once all of your hair is under the band and in the middle, start curling your hair upward and secure it with several bobby pins, and that’s it.
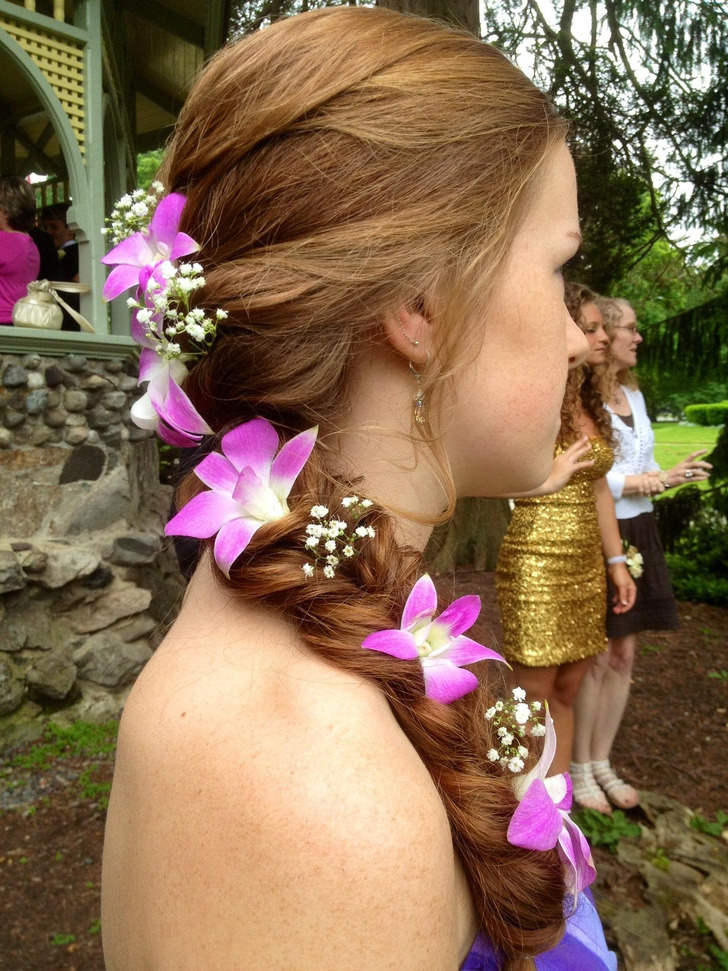
16. Add flowers
Another useful tip, for your hairstyles to be more extra, is to add flowers. You can add them to any hairstyle you’re wearing at the moment. You can even secure them with bobby pins so that they can last all night without you having to worry about them. Don’t be afraid to experiment with different colors and sizes.
17. Simple pigtails
This is one of the easiest hairstyles from this list, but it looks just as cute as any of the others. This kind of bun pigtail can be achieved with any type of hair. The only impediment would be If your hair is really short. You’ll also need bobby pins and/or hair ties.
- Part your hair right in the middle of your head, you can also part your hair in a zig-zag or sideways.
- Grab the right strand of hair and make a bun with it, just like the one in the example, depending on the length of your hair you can use the bobby pins or the hair tie to secure the bun.
- Next, grab the left hair strand and secure it just like in the right, and voilà! If you want to add color you can wear hair clips and even flowers.
18. Side bun hairstyle
Side hairstyles can look very classy and elegant, if you have a wedding coming up this is the best option for a hairstyle. You’ll need bobby pins, a brush, and hair gel.
- This step you can do it with your head upside down so that it’s easier to achieve. Start brushing your hair upward and add some hair gel.
- Use the bobby pins to secure your hair at the top of your head. You can also add a hair clip to hide the pins.
Did you like our list? Which of the hairdos would you like to try? Share your opinion with us in the comments below.
Comments
hello whats your name
Related Reads
A Girl Born Without Nose, Who Was Called “Voldemort”, Proved Everyone Is Beautiful in Their Own Way
14 People Shared the Turns Their Life Took After They Adopted a Kid
12 Moments That Remind Us to Stay Kind Even When Life Isn’t Gentle
15 Stories That Prove Some People Live in a World With Totally Different Logic
16 Real-Life Moments That Prove Kindness Is a Quiet Strength
18 Pets Who Proved They Understand the World Much Better Than We Think
I Refuse to Let My Sister Get Away Without Repaying My Money, I’m Not Charity
My Parents Wanted a ‘Family Vacation’ on My Budget—I Made One Move They Didn’t Expect
14 Dates That Started Like Movies but Ended Like Sitcoms
12 Moments of Kindness More Rare Than a Solar Eclipse That Show a Kind Heart Can Change the World
14 Powerful Kindness Stories That Restored Hope in Tough Times
My Daughter Disrespected My Sacrifices—And I Refused to Let It Slide
