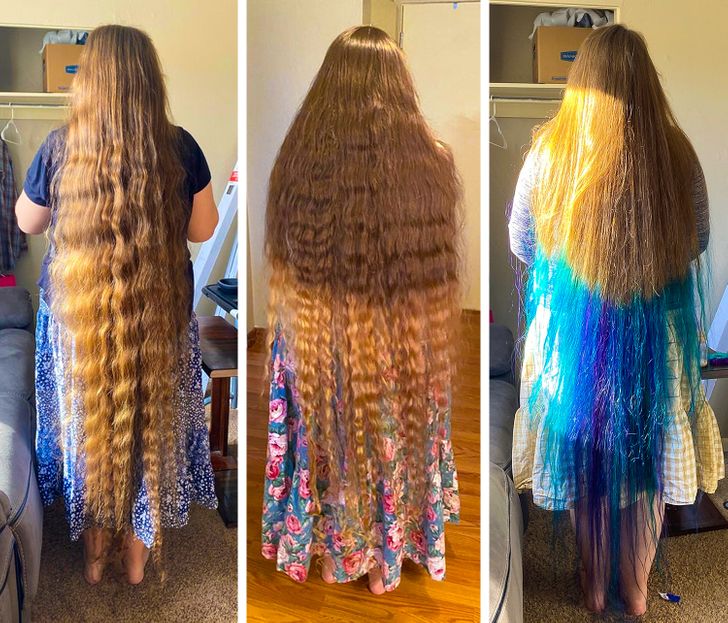
I think a lot of women needed this article in current time
20 Tips on How to Dye Your Hair at Home
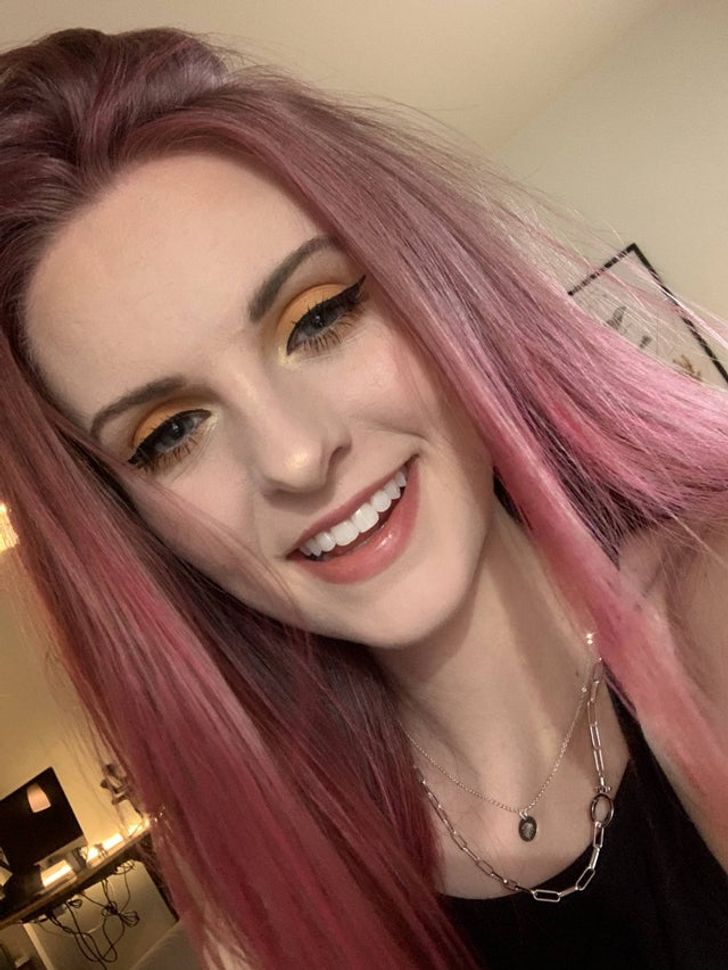
Hair color is our identity and when we change it, we can become a different person. You may want to go lighter, because you instantly feel an urge to be in the spotlight, or you may wish to go darker because you want to try out the look of a fatal beauty. Some people are just not afraid of radically changing their look and trying out the most unusual and adventurous colors to feel like a beautiful bird. Sometimes, we want to experiment without leaving our homes and, for us, nothing seems impossible.
We at Bright Side have collected some tips to help people play with their look and only have a good experience when dyeing their hair at home.
1. Buy a home hair dye kit and prepare your hair.
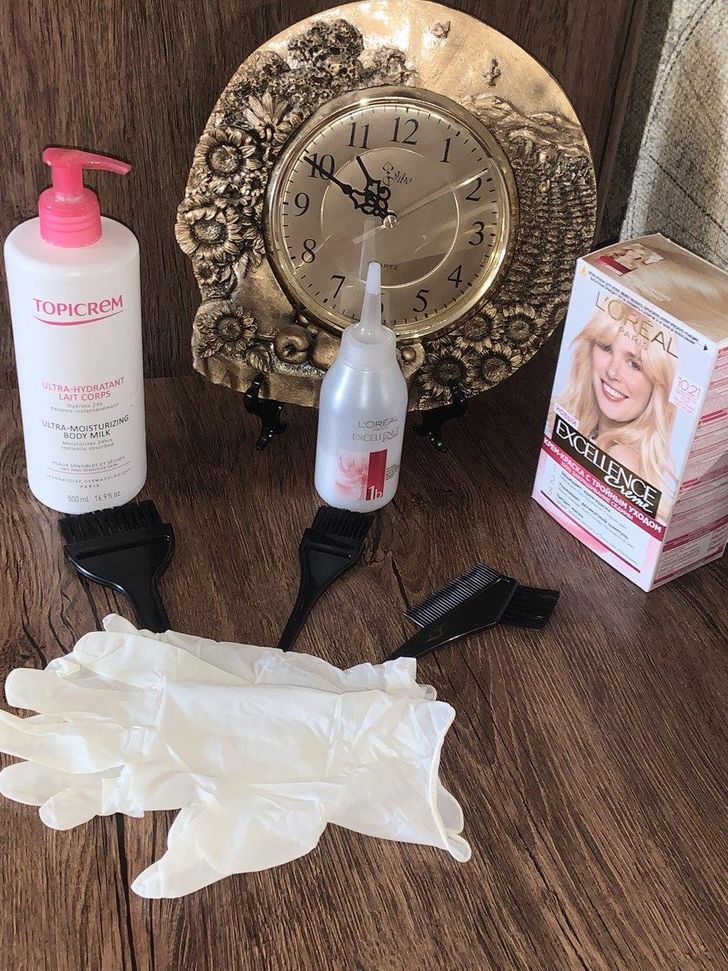
A basic hair dye kit includes:
-
Color brush
-
Latex-free disposable gloves
-
A thin hair comb
-
Moisturizing creme for protecting skin
Don’t use metal equipment for mixing and storing the coloring substance, only plastic. Metal bowls or metal clips can oxidize the dye and the color may not show up at all. Also, using metal equipment may lead to hazardous chemical reactions.
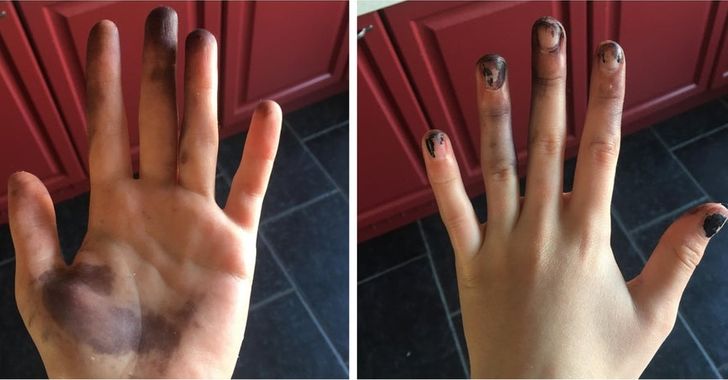
Always wear gloves to avoid stains on your skin, which are hard to remove. Also, remember that your hair dye can contain ingredients that cause skin irritation or an allergic reaction, so try to not expose your skin too much to these substances.
To prepare your hair for the procedure, you might want to stop washing it at least 24 hours beforehand so that the natural oils on your scalp can protect your hair from the bleach and harsh chemicals in the dye. Another thing you should avoid is using your heating tools for at least 1 week prior since they could cause damage and dryness, and we want our hair to be as healthy as possible to combat the damage the procedure may cause.
2. When buying hair dye, don’t trust the model on the box.
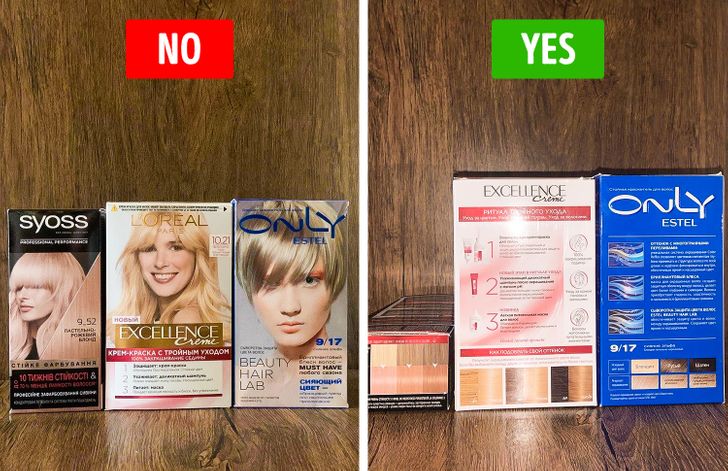
Of course, the models on the boxes look beautiful, but this is just a picture to turn your attention toward the brand. Your real friend is the color chart on the reverse side or on the bottom of the box. Also, the number on the box is helpful, as each color has its own code, consisting of the main tone and a hue combined together. The first number ranges from 1-10, with 1 being the darkest and 10 being the lightest.
The developer in at-home permanent dyes is very strong — stronger than the ones used in the salon by usually 20%-30% — so it lifts the color and makes it lighter than what you see on the box. Be sure you choose vol 10 developer if you don’t want to get lighter than one shade and vol 20 developer to lift 1-2 shades.
3. Buy 2 boxes of hair dye.
If your hair is medium length or longer, you will need at least 2 boxes of hair dye. Also, if you have roots to deal with, you will need more substance to ensure better coverage and an even color afterward. Besides, there’s nothing worse than running out halfway through.
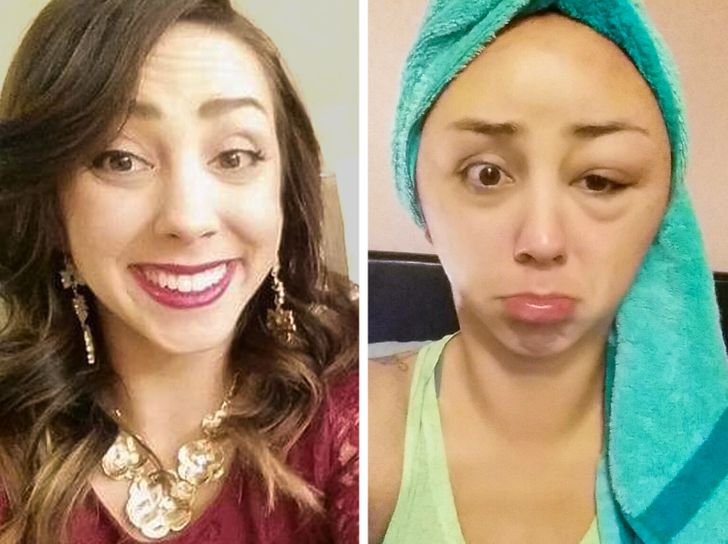
4. Always perform an allergy test 48 hours before dyeing your hair.
To avoid any repercussions to your health, you should always perform a patch test before using any colored dye. Ignoring this important rule may lead to severe consequences. Sometimes our body can develop allergies to things we have used many times in the past, even if we never used to have them.
If you have a reaction while you’re at home, it’s best to rinse the product off and contact your doctor.
5. Be careful with bleach.
As you probably already know, bleach is not the best for your hair. Sometimes, to be able to achieve a specific color, you’ll need to bleach your hair several times, and it’s a procedure that can take weeks. That’s why it’s better to ask a professional to do the hard work than to end up with jelly hair.
6. Don’t skip the strand test.
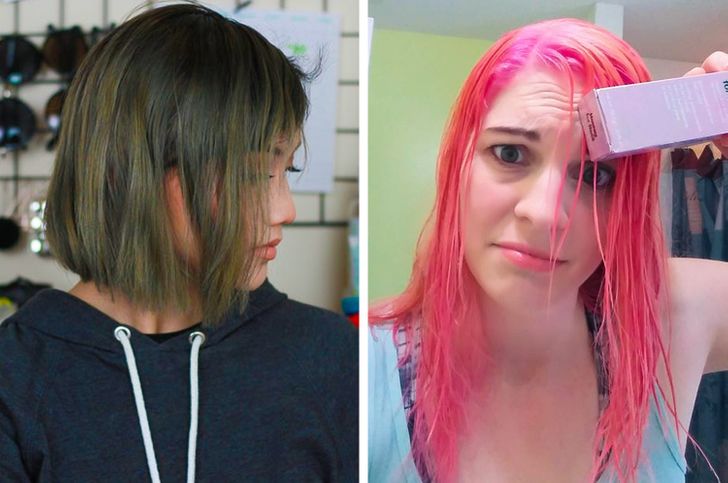
Though bypassing this step is tempting, the strand test is key, especially when trying out a new shade. Color a few trimmed or hidden hairs first, then look at the result before you commit. A common horror story from women who didn’t do this: hair that turned green or hot pink.
To do the test, you have to pick a 1/4-inch-thick strand of hair, preferably from the bottom part of your head, so that if things go wrong you can hide it easily. Then dye it as you would normally do, and remember to use protective gloves. If the hair color is what you wanted, then you can start the dyeing process.
If your skin gets colored after a hair dyeing procedure, use baking soda or toothpaste that contains baking soda, mix it with water, and rub it lightly on the area to get the dye off of your skin.
7. Don’t be in a hurry to apply your hair dye immediately. Evaluate your hair’s condition first.
Before you start coloring your hair at home, damaged hair needs to be carefully treated. You need to spend a few weeks babying your hair and strengthening it with hair masks and conditioners.
We found good tips so that you can know if your hair is ready for color. According to a color specialist, you can take a strand of hair and hold it with your fingers, then put a drop of water onto it. If your hair absorbs the water in less than 10 seconds, this is bad news, as your hair cuticle is compromised and too damaged to be dyed.
If you do the test but you’re still not sure if your hair is healthy enough for color, try visiting a professional colorist. It’s better to be sure than to damage all your hair.
If your hair is bleached and you have a yellow tone on your roots, the end color after you dye your hair may be uneven, and the yellow will still be visible. Look at your hair in childhood photos. This will help you determine how your hair will react to certain colors. If your hair was a warmer color (honey blonde or similar), your hair will likely react with a warmer color now. Similarly, if your hair was a cooler color (ash blonde, brunette), your hair will likely have cooler undertones when you dye it now.
8. Evaluate your current hair color before coloring.
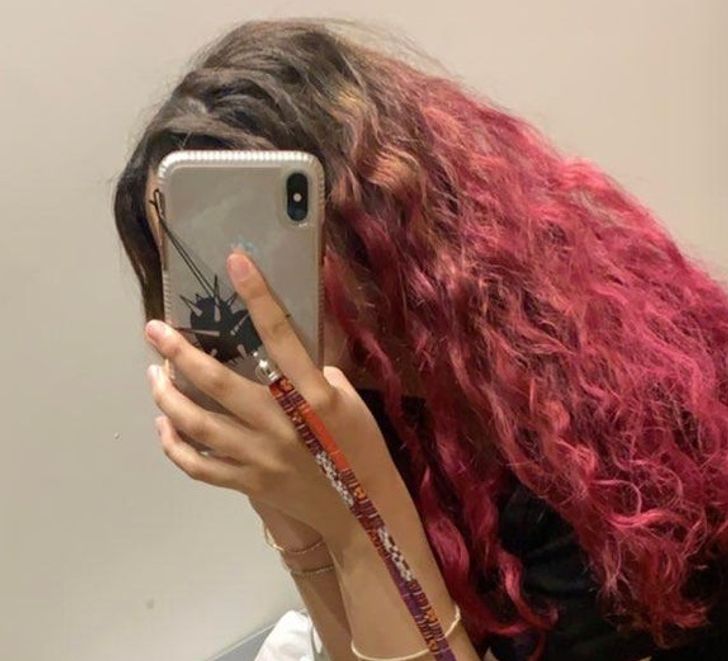
If you want to rev up your bleached ends, you can try a dip dye method. It’s very easy to do at home — you just dip the ends of your hair into your dye mixture.
If your hair is bleached, you can try a vivid semi-permanent tone to change your image without damaging your hair (compared to a permanent hair dye treatment).
If your roots are already visible and make a huge contrast, both demi-permanent and semi-permanent won’t do, as they contain little to no peroxide and cannot lift the hair color.
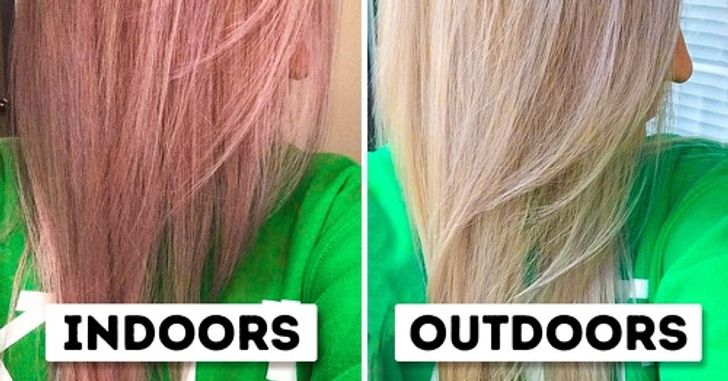
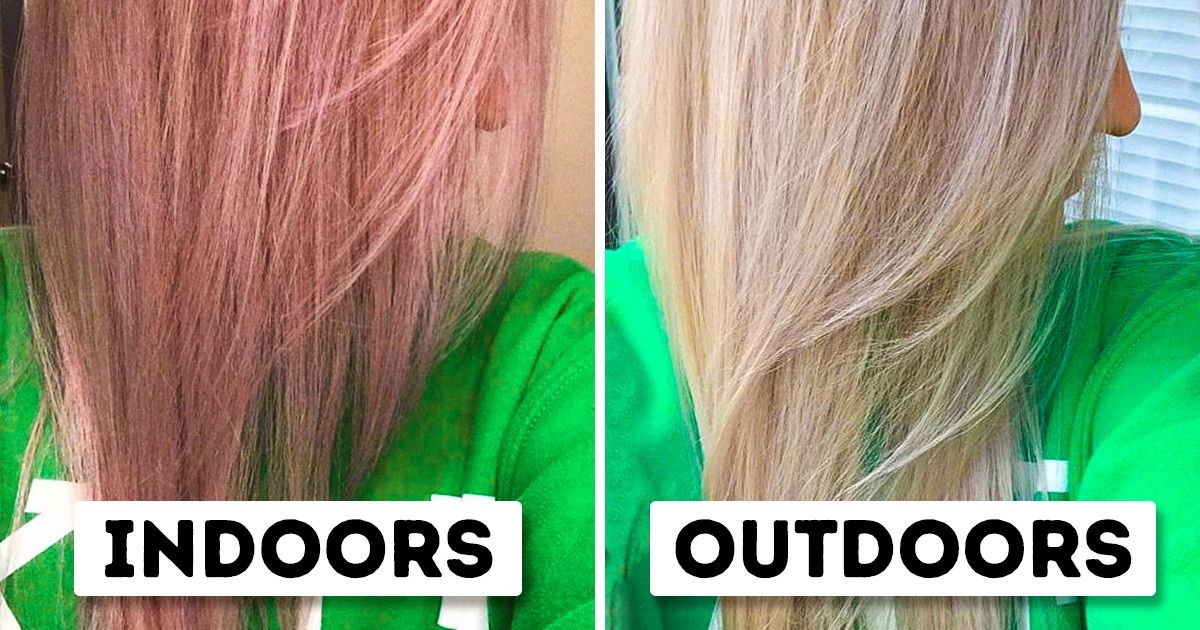
9. Your hair color will look different in different lighting.
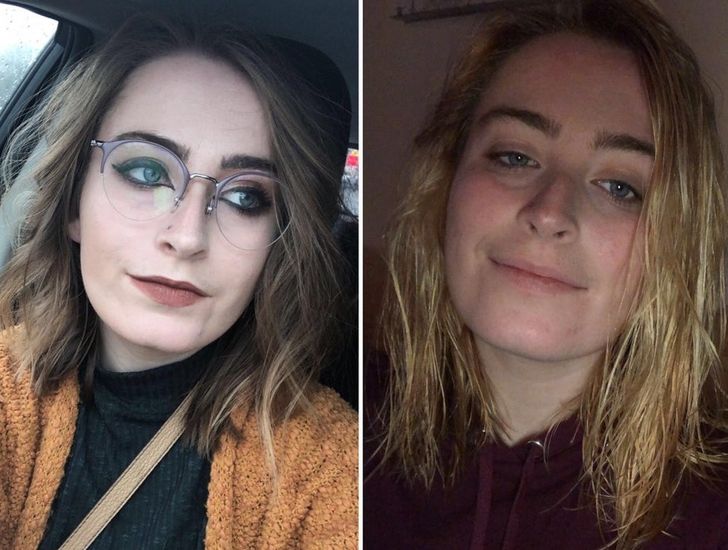
Under artificial light your hair color may look more vibrant and the hues will be more exposed. Under natural light your color will be less vivid and the hues will not appear that bright. Remember this when choosing the tone of your hair color.
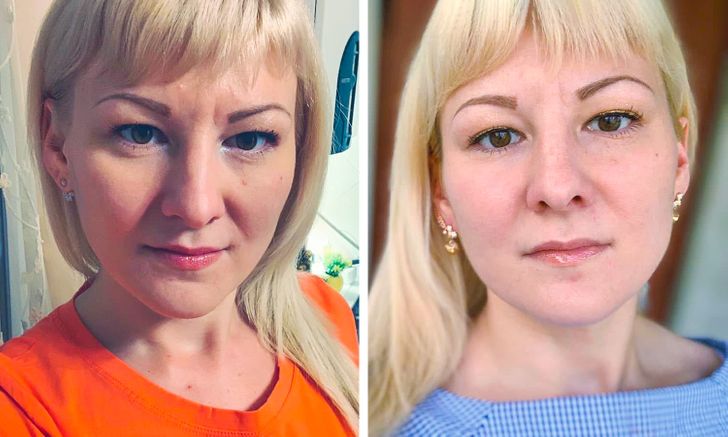
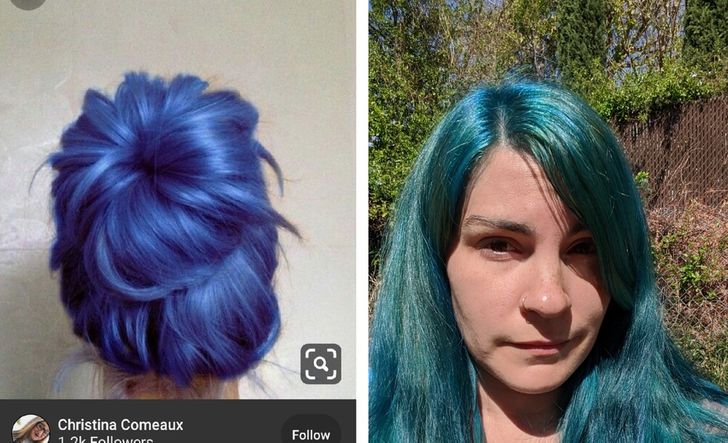
If you choose your hair dye by reading reviews on the internet, make your choice based on photos the users take under different lightning to be able to picture the result completely.
10. Don’t experiment with radical changes in color at home.
Going from brunette to blonde may require several procedures of bleaching, which will severely damage your hair.
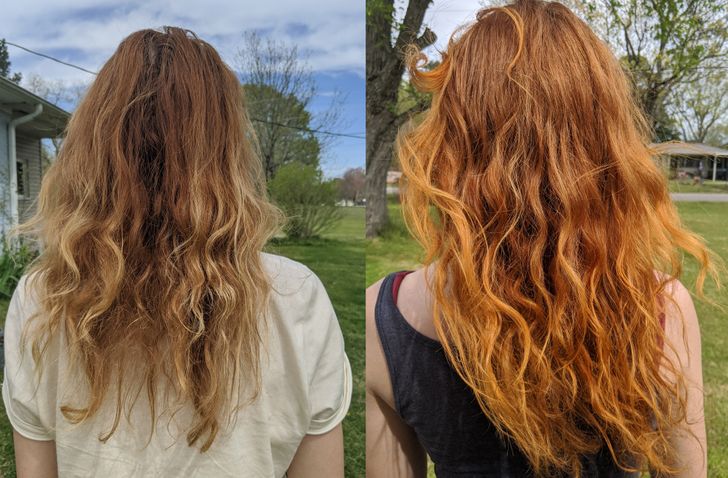
If you already have some unwanted orange after bleaching, you can use it to your advantage and tone it over with some vibrant ginger pigmented semi-permanent hair dye.
Instead of bleaching, you can add tone to your brunette hair with a semi-permanent dye that will not damage your hair. If you really want to lighten your hair color and you’re committed to the amount of time and money it can take, then why not? But try not to do it at home and seek a professional’s advice instead.
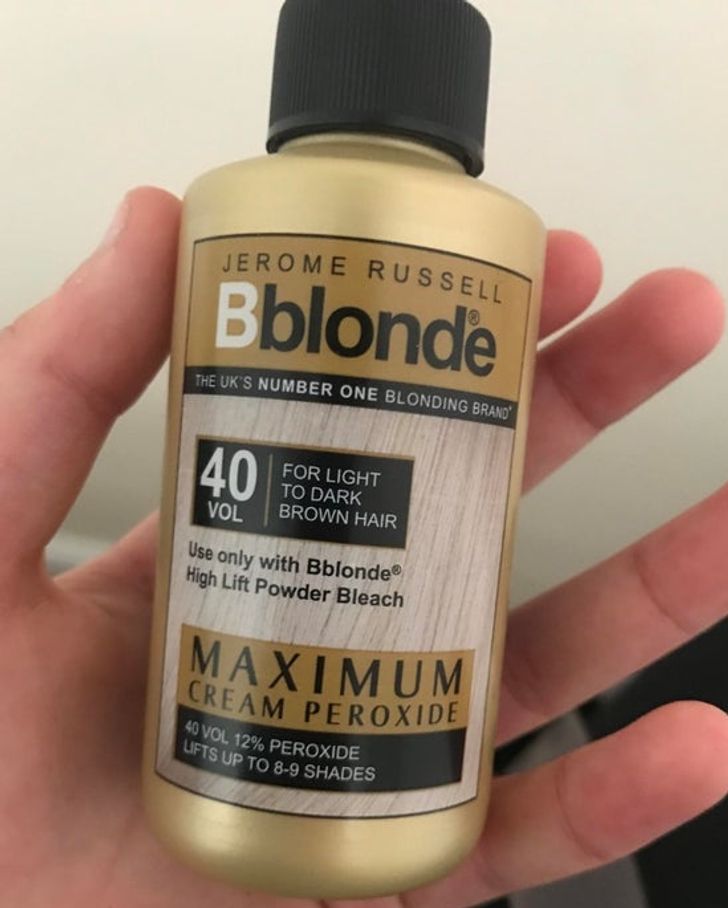
11. Never use 40 vol developer at home.
You can safely use 10, 20, or 30 vol developers at home together with your hair dye. Using 40 vol developer is dangerous, and you may burn your scalp. Only a professional can use it on your hair without severe consequences.
12. When combining colors, choose complementary tones from the same brand.
Mix colors that are alike — Cool and Cool, Warm and Warm.
Do not mix Warm and Cool colors. They will counteract each other. Do not apply a cool tone to bleached hair which has an orange tone. Orange + cool tone cannot be combined.
There’s a color-mixer tool that blends colors. You can choose a color to start with and a second color to end with and the mixer will do the rest. You can also use a built-in color-picker for both colors. The color-picker includes the entire RGB color spectrum which boasts 16,777,216 unique colors! This way, you’ll be able to see which hue can be obtained after mixing 2 colors.
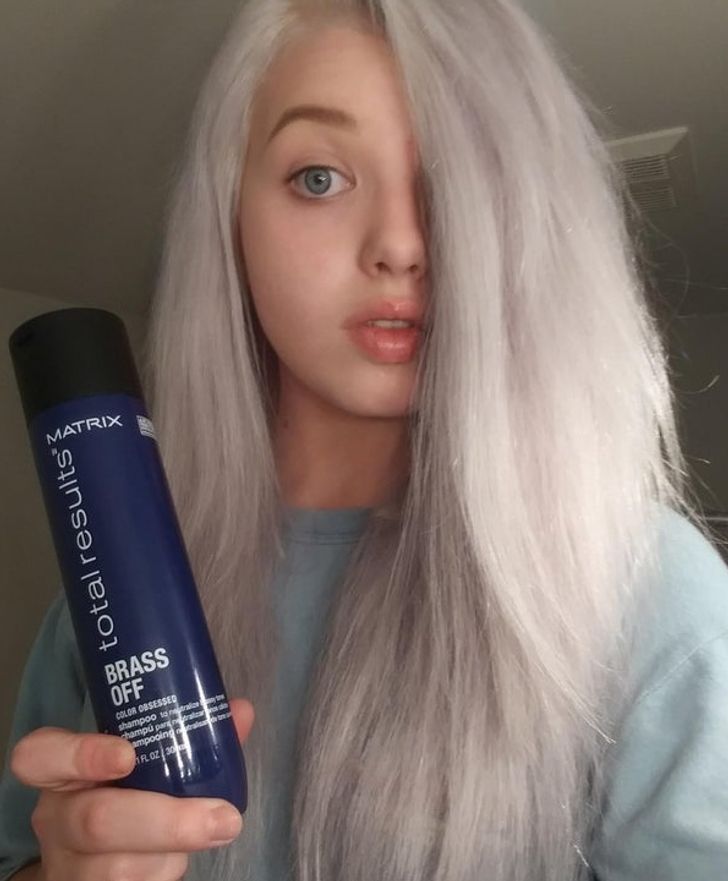
13. Use a purple shampoo to get rid of any yellow tones in your blonde hair.
Sun, hard water, or heat styling may cause a yellow pigment to show up in your precious blonde hair. Purple neutralizes yellow shades and brassiness, thus helping your noble blonde stay longer without a need to bleach it or treat it with peroxide.
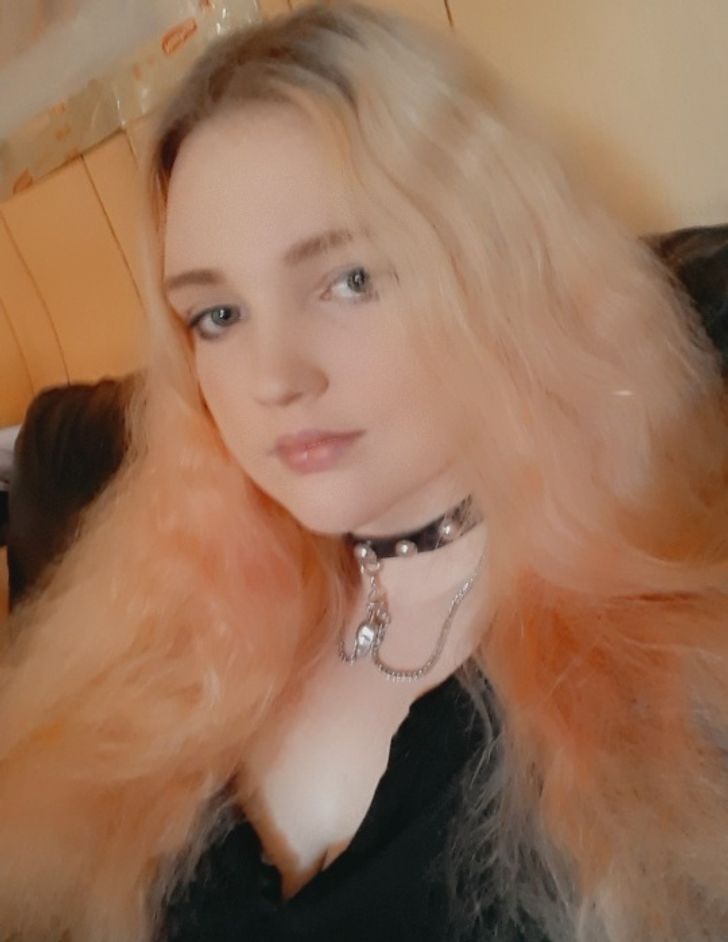
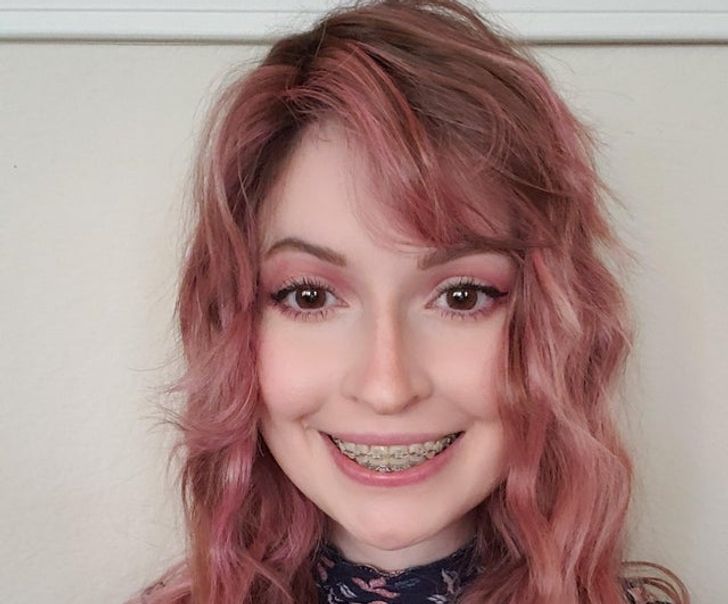
You can also tone your hair with watercolor shampoo to change your image and add a mild pastel tone.
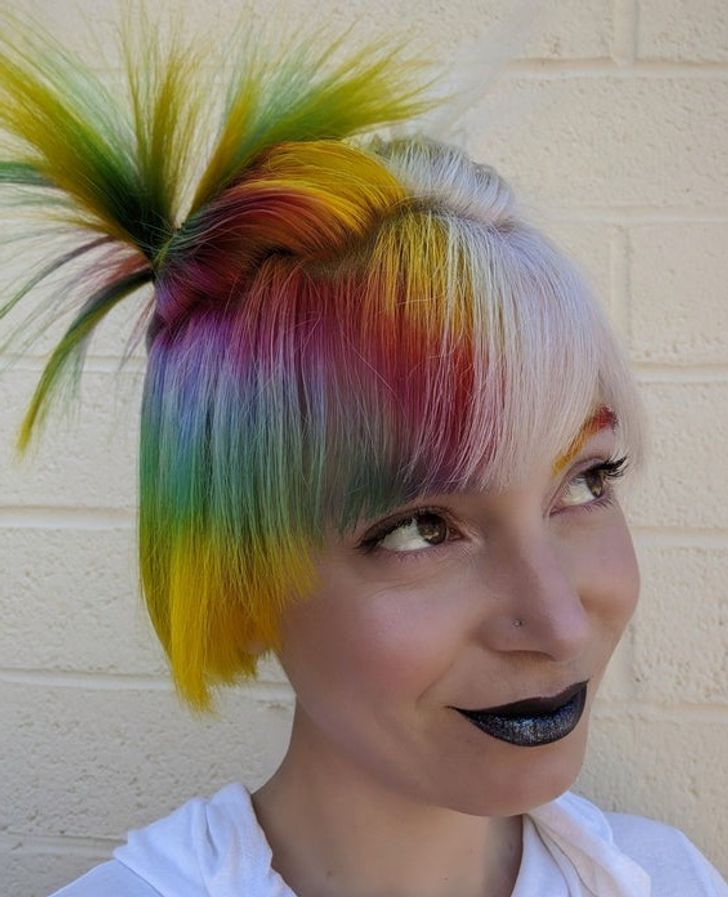
14. If you’re longing for summer, you can do rainbow hair.
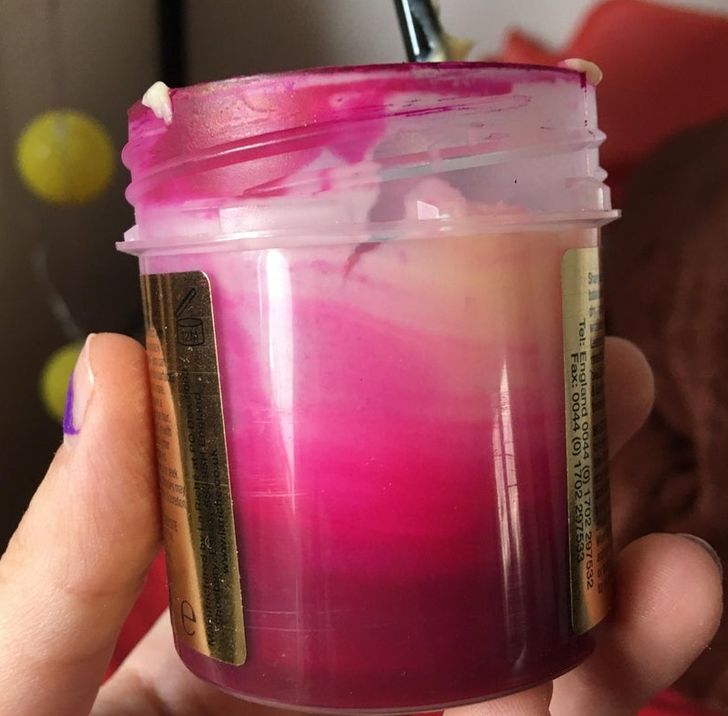
You can try a paste which requires no bleaching, will not damage your hair in any way, and will wash out quickly, leaving you room for further experiments.
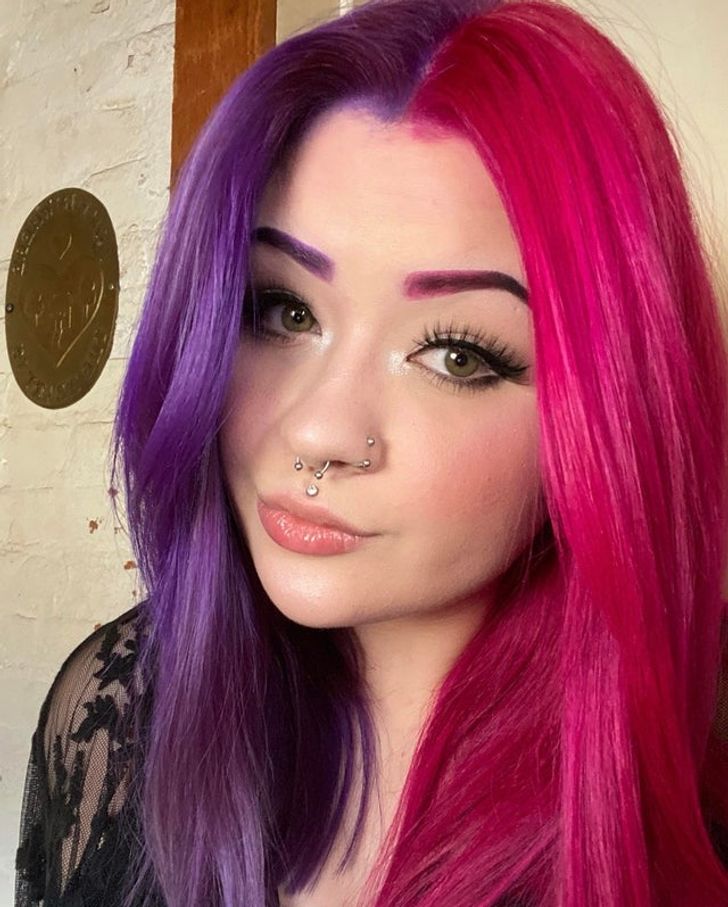
15. Half and half, or split hair, may come in handy for bleached hair and can freshen up your look.
Before doing split hair, think about the makeup you’re going to wear afterward since it may be a real challenge to match both colors of your hair. Also, it’s important to remember that you should buy the same brand, even if they’re different colors. Sometimes chemicals of different brands can interact with each other and cause a disaster in your hair.
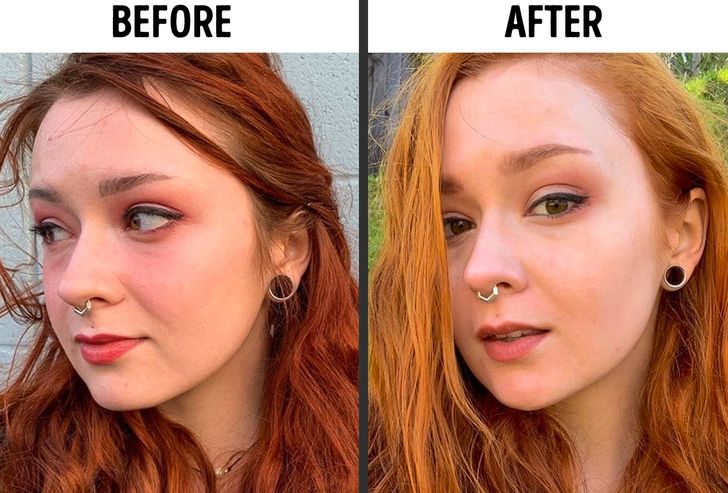
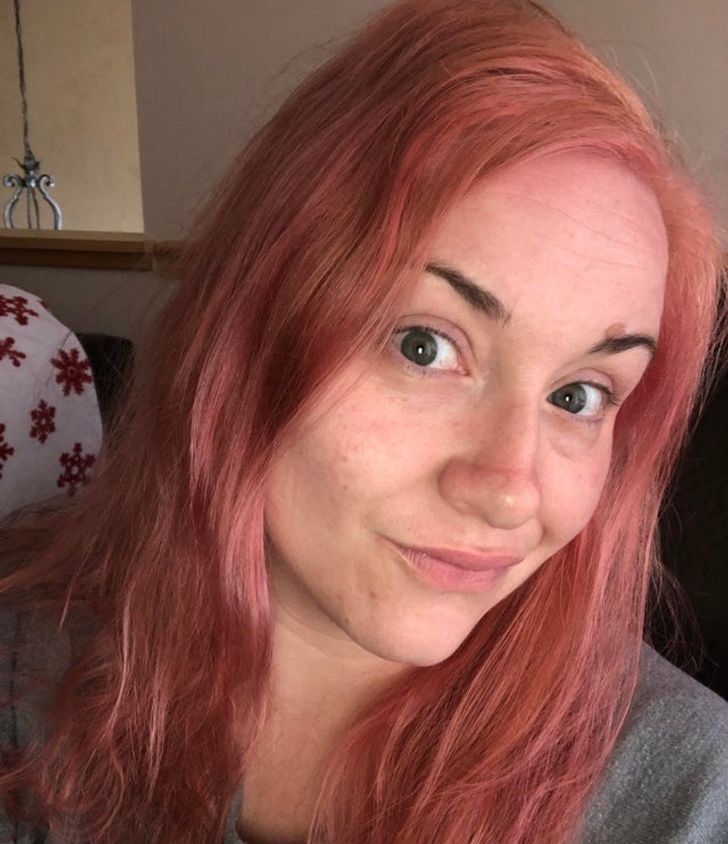
16. If you end up with a surprising or undesirable hair color, don’t panic.
Sometimes, accidents can become miracles, and maybe you created a totally different color than you aimed for that you end up liking. But you can also end up with a new color that isn’t your cup of tea, and that’s okay too. Here are some tips you can follow to try to correct the mistake.
- Use a deep-cleansing shampoo. It penetrates into the hair and washes out the pigment quicker than ordinary shampoo.
- Use an anti-dandruff shampoo, that’s high in sulfates (SLS). Sulfates wash out the pigment quickly, which is why you can use this shampoo to fade your unwanted color.
- Add Vitamin C tablets to your shampoo. Acid is a natural color remover, it lightens the hair and helps fade color in a natural way.
- Use 3 tablespoons of ground cinnamon mixed with your conditioner. This is a natural method that will not damage your hair follicle like some other methods, and it is best used on darker hair colors.
17. Moisturize your hair and fill it in with keratin after dyeing.
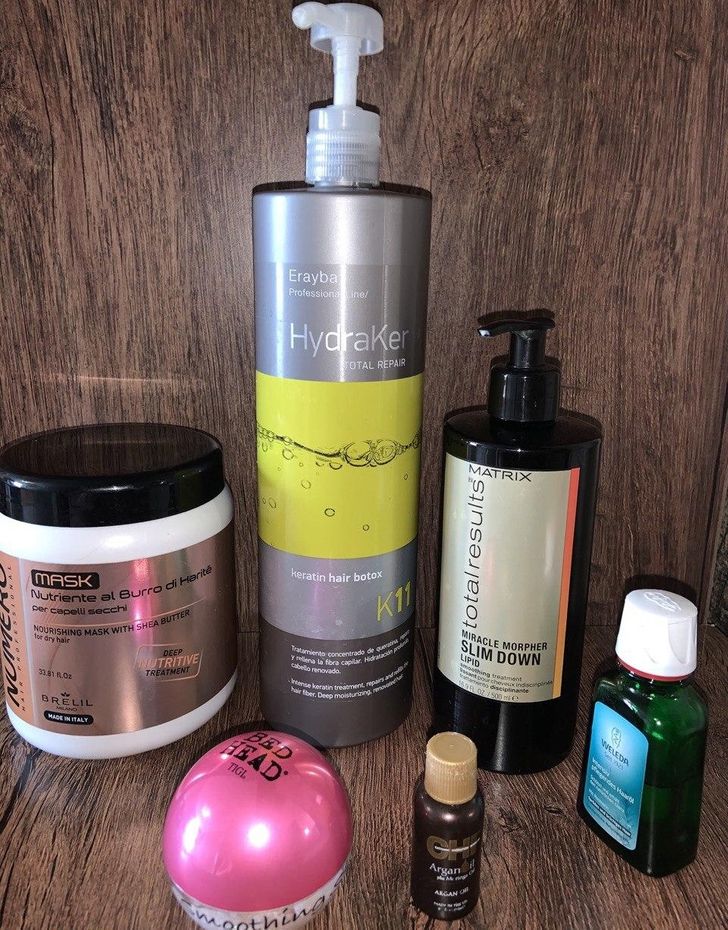
Dyed hair becomes dry and fizzy in most cases. In order to restore it, use the following:
- A moisturizing mask can intensely nourish the scalp and restore the capillary structure of the hair.
- Keratin treatments can refill the hair fiber, add more nutrition to the hair, and make it robust.
- Protein treatments for weak unruly hair help fight against hair breakage and leave it feeling soft and moisturized.
- Argan oil, as a natural hair rejuvenator, restores vitamins and moisture back into the hair for younger, shinier, healthier-looking hair.
- Essential oils for damaged ends can strengthen hair and help prevent damage to the ends.
- Leave-in conditioner can fight frizz and give brightness to your hair.
18. Be prepared that UV hair color will have a different tone and effect under natural light.
UV reactive hair dye can be applied over natural colors or on bleached hair, but looks especially striking when a range of colors is used, or when the hair is braided. Your hair will have to be exposed to natural light for a while before it will glow in the dark. The longer you expose the hair in natural light, the brighter it will glow in the dark. You need to be under a UV light for the UV colors to show up. The glowing effect will show up under black light, however, the coverage and the color under natural light may be different. The daylight tone will look less electric and more pastel.
If you still want some neon effect on your hair during the daytime, you will need to choose a neon hair dye, which will have neon effect under the daylight.
19. Diluting hair dye with conditioner at home may help you achieve a more pastel and less aggressive tone.
If you mix dye with conditioner, you can lighten the color of the dye a bit and make it smoother. But this will only work with some types of dyes. Mixing hair dye with conditioner only makes fantasy colors end up softer.
20. Dye virgin long hair on the ends to give it a try.
If you have long hair that you’ve never dyed before and the temptation to dye it at home is very high, don’t cover all of your hair — try balayage first. Use demi-permanent hair dye, as it’ll allow you to experiment with colors without damaging things. Don’t bleach or color all of your hair because if the result turns out to be unsatisfactory, the only way out will be to grow it out again.
Which of these tips do you find to be the most useful and will you likely try when doing at-home color? Do you have your own tips and tricks to create a masterpiece with your hair?
Comments
My mom dyed her hair the other day, luckily for her she didn't run into any trouble
Very helpful Information and Keep Sharing More. If you want learn more Hair Masking Using Photoshop

Related Reads
15+ People That Know Exactly How to Make Employees’ Days Fun

20+ Moments That Remind Us That Kindness Costs Nothing but Means Everything
12 Life Moments Where Quiet Kindness Played the Main Role

14 Powerful Kindness Stories That Restored Hope in Tough Times
I Refused to Babysit Under My DIL’s Rules—I’m Not “Learning” How to Be a Mom
18 Stories That Prove Kindness Can Come From the Most Unexpected Places
12 Heartwarming Moments That Show How Family Kindness Saves Lives

10 Moments That Prove Kindness Matters Even When the World Turns Against Us
I Refuse to Adopt My Dying SIL’s Baby—Her Last Words Left Me Frozen
13 Coworkers From Hell Who Took Workplace Drama to New Levels
10 Travelers Who Took “Breaking the Rules” Way Too Far
10+ Stepparents Who Became Safe Harbors for Their Stepchildren
