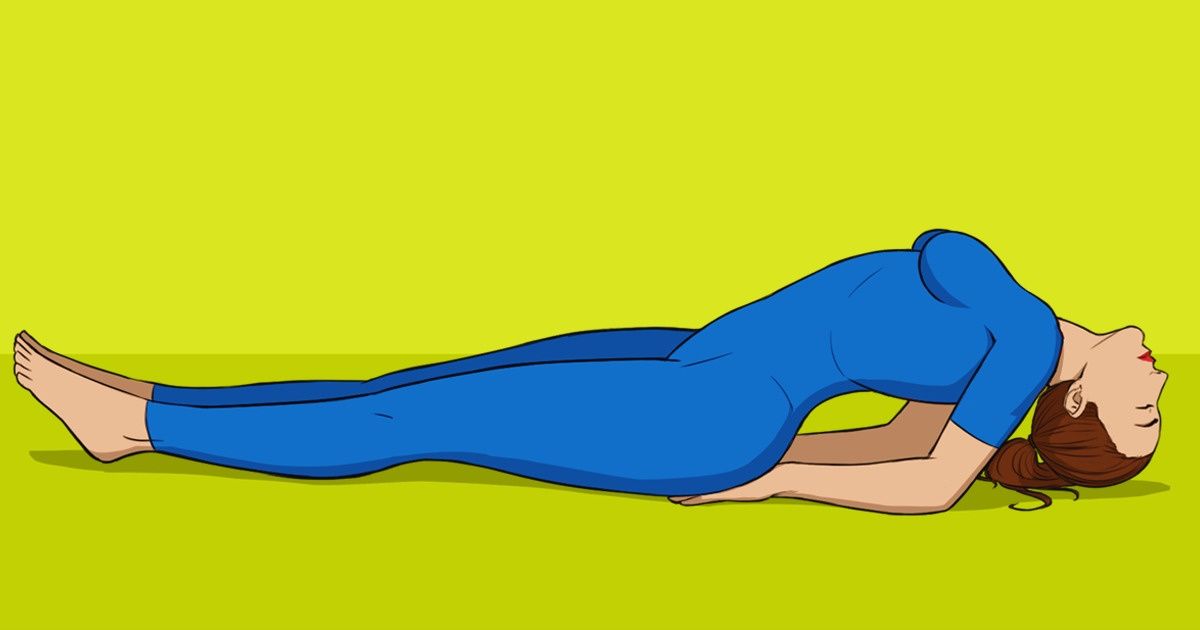
8 Easy Exercises to Make Your Back Pain Flee
According to statistics, about 31 million Americans experience lower back pain at any given time. Luckily, this pain is usually caused by a spasm in a certain muscle and can be easily reduced at home with the help of some stretching exercises.
Bright Side made a list of the most effective exercises that will help you relieve back pain in no time.
8. The cat-camel exercise
The initial position: standing on your hands and knees with your knees placed hip-width apart and your hands placed directly beneath your shoulders.
What to do:
- Tighten your abdominal muscles, round your spine toward the ceiling to mimic a camel hump, and lower your head simultaneously.
- Hold the position for about 10 seconds. Then slowly relax your back.
- Allow your stomach to fall toward the floor, stick your tailbone out to make a curve with your spine, and lift your head up at the same time.
- Hold the pose for 10 seconds. Then return to the initial position.
Repeat: 3 times
Results: The cat-camel exercise is aimed to stretch and strengthen the muscles that stabilize your spine, mobilize your back, reduce stiffness, and increase its flexibility without irritating your neck.
7. The child’s pose
The initial position: sitting on your heels with your hands placed at your thighs.
What to do:
- Take a deep breath;
- Exhale and lean forward, extending your arms in front of you;
- If it’s possible, put your head on the floor in front of you;
- Hold the pose for about 60 seconds;
- Return to the initial position.
Results: The child’s pose stretches your hips, thighs, and ankles and relieves back and neck pain by gently reducing the tension in your lower back.
6. The prone cobra
The initial position: lying on your stomach with your face down, your legs straight, your arms placed at your sides, and your palms turned up toward the ceiling.
What to do:
- Contract the muscles of your lower back and raise your head, chest, arms, and legs off the floor. Simultaneously rotate your palms so that your thumbs point toward the ceiling;
- Hold the position for about 5-10 seconds;
- Return to the initial position.
Repeat: 15 times
Results: This exercise will help you improve your core strength, maintain a good posture, and strengthen the muscles of your upper back.
5. The fish pose
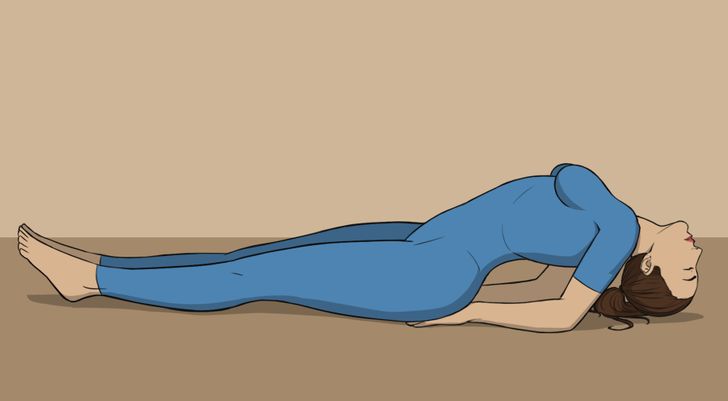
The initial position: lying on your back with your knees bent and the soles of your feet flat on the floor.
What to do:
- Lift your pelvis slightly off the floor and slide your hands beneath your buttocks with your palms facing down. Then put your buttocks on the backs of your hands. Make sure that your forearms and elbows are placed close to the sides of your torso;
- Breathe in and lift your upper torso and head up from the floor. Then gently release your head back onto the floor while placing a minimal amount of weight on it;
- Straighten your legs out onto the floor if it feels comfortable. Otherwise, you may keep them bent.
- Hold the position for 15-30 seconds, breathing slowly;
- Exhale and return to the initial position.
Results: The fish pose offers a deep stretch for the shoulders, chest, and the front body, including the musculature of the back and neck. It also encourages better breathing, helps relieve spinal tension, and improves your posture.
4. The sitting piriformis stretch
The initial position: sitting in a chair with your back straight, your feet flat on the floor shoulder-width apart, and your hands placed on your hips.
What to do:
- Place your left ankle on your right thigh close to the knee.
- Put your right hand on your left heel and your left hand on your left thigh area near the knee. Slightly press your left leg toward the floor.
- Increase the pressure by leaning your chest toward your left knee.
- Hold the position for about 30-60 seconds, then return to the initial position.
- Repeat on the opposite side.
Results: Doing this stretch can ease back, knee, and ankle pain by relieving the tight piriformis muscle.
3. The side plank
The initial position: lying on your left side with your knees straight.
What to do:
- Place your left elbow directly in line under your shoulder and lift your body up on your left forearm;
- Raise your right hand until it’s perpendicular with your torso and make sure that your body forms a diagonal line. Maintain a straight spinal alignment and breathe deeply;
- Hold the pose for 60 seconds. Then return to the initial position;
- Repeat on the opposite side.
Results: The side plank is great for strengthening the lateral muscles of your spine and stabilizing them.
2. The dead bug exercise
The initial position: lying flat on your back with your arms raised toward the ceiling.
What to do:
- Tighten your abdominal muscles and press your lower back toward the floor;
- Bend your legs at a 90° angle;
- Take a deep breath in;
- Keeping your abs and core engaged, exhale and lower your left arm and right leg toward the floor simultaneously. Move slowly in order to make your muscles work properly;
- Return your arm and leg upward.
Repeat: 5-10 times on each side
Results: The dead bug will help you strengthen your abs and core muscles without putting pressure on your lower back and eliminate pain by helping you keep a neutral spine.
1. Reclining pigeon pose
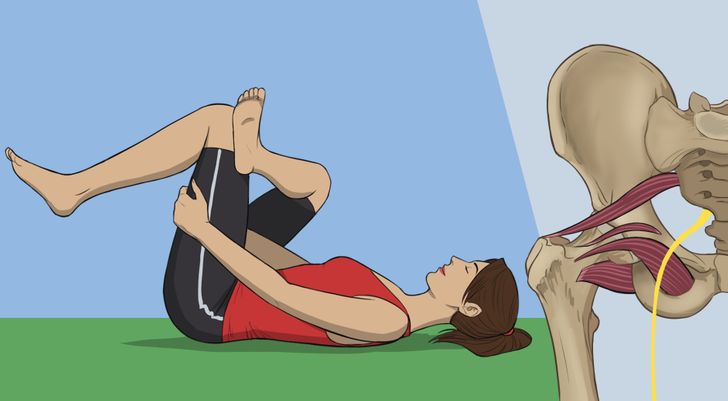
The initial position: lying on your back with your knees bent, your feet resting flat on the floor hip-width apart, and your arms placed at your sides.
What to do:
- Lift your right ankle and cross it over your left knee so that it rests on your left thigh;
- Grasp your left leg just under your knee with both hands and clasp them together at the back of the thigh;
- Gently pull to raise your left foot off the floor toward your body until you feel the stretch;
- Hold the pose for 30-60 seconds, breathing deeply, then return to the initial position;
- Repeat on the other side.
Results: This exercise will help you increase mobility in your hips by stretching your hamstrings and quadriceps and relieve sciatic nerve pain.
Do you know any other exercises to relieve back pain? Share your experience with us in the comments!